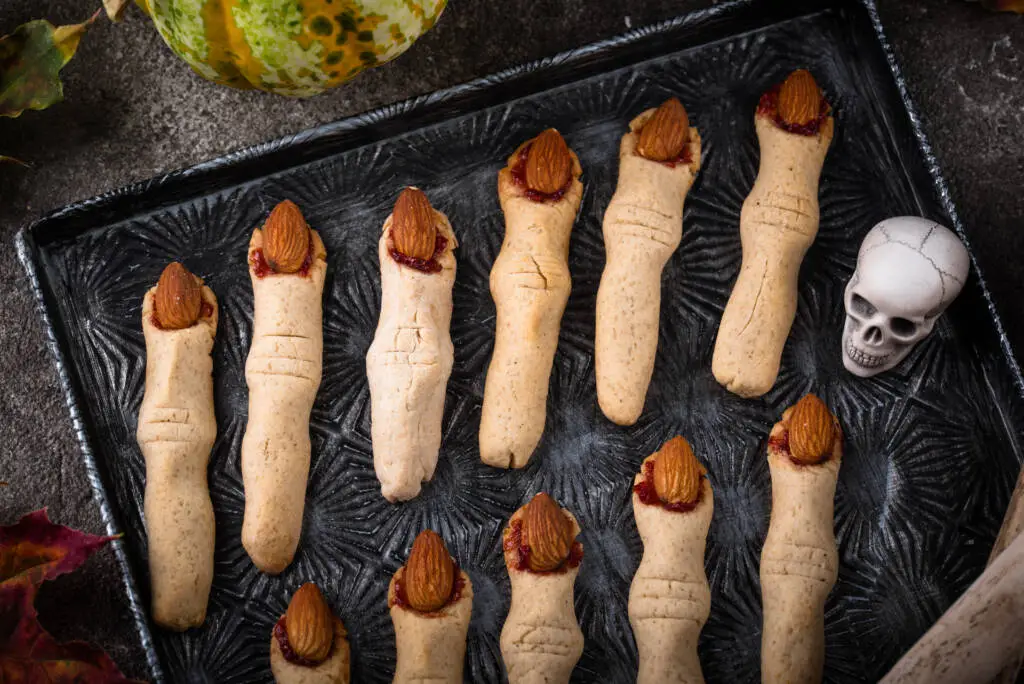
Here’s a delightful recipe for Witch’s Fingers Cookies, an ideal treat for Halloween parties or any spooky-themed gathering. These eerie cookies not only look fantastic but also offer a buttery, sweet flavor that everyone will enjoy. With their characteristic finger-like shape and almond “fingernails,” these cookies are sure to be a hit among guests of all ages, bringing a playful fright to your dessert table.
Ingredients
- 1 cup unsalted butter, softened
- 1 cup granulated sugar
- 2 cups all-purpose flour
- 1/2 cup almonds (whole, for fingernails)
- Green food coloring: a few drops, to your preference
- 1/2 teaspoon vanilla extract (optional)
- 1/4 teaspoon salt
Instructions
Preheat the Oven:
Start your spooky baking adventure by preheating your oven to 350°F (175°C). A properly heated oven ensures the cookies bake evenly, giving you that perfect texture—soft and slightly chewy, with just the right amount of crispness on the edges.
Prepare the Dough:
In a large mixing bowl, cream the softened butter and granulated sugar together. Use an electric mixer for the best results, mixing on medium speed until the mixture is light and fluffy. This process usually takes about 3-5 minutes. The air incorporated during this step is crucial to achieving cookies with a delightful texture.
Once the butter and sugar are well combined, add the all-purpose flour, salt, and vanilla extract (if using). Mix everything until just combined, being careful not to over-mix the dough. Now, it’s time to unleash your creativity! Add a few drops of green food coloring to the dough. Start with a small amount and mix it in until you achieve your desired shade of green. This vibrant color not only adds to the spooky aesthetic but also makes the cookies instantly recognizable as Witch’s Fingers.
Shape the Cookies:
Once your dough is ready, it’s time to shape those creepy fingers! Take small portions of the dough and roll them into finger-like shapes that are about 3-4 inches long. Aim for a slightly thicker base that tapers toward the end, resembling a finger.
Next, to add an uncanny touch, press an almond into one end of each cookie to mimic a fingernail. As an extra detail, you can create knuckle indentations by gently pressing on the cookie with a fork or your fingers. This adds texture and makes the cookies resemble actual fingers, enhancing their spooky appearance.
Bake:
Place the shaped cookies on a baking sheet lined with parchment paper, spacing them well, as they will expand slightly during baking. Transfer the baking sheet to the preheated oven. Bake the cookies for about 15-20 minutes or until they are lightly golden around the edges. Keep a close eye on them to avoid overbaking, as you want to maintain their soft texture.
Cool and Serve:
After baking, allow the cookies to cool on the baking sheet for a few minutes. This helps them firm up a bit, making it easier to transfer them later. You can use a spatula to gently transfer the cookies to a wire rack to cool completely.
Once cooled, your Witch’s Fingers Cookies are ready to serve! Present them on a platter for a visually striking centerpiece at your Halloween party. These thrilling treats are not only fun to make but also provide a delightful sweet taste that will leave your guests wanting more. Their playful yet eerie design will spark conversations, laughter, and perhaps a few squeals of delight!
Enjoy!
These Witch’s Fingers Cookies embody the spirit of Halloween, making them a perfect addition to any themed gathering. Enjoy the process of baking and decorating these spine-chilling treats, and revel in the smiles they bring to your friends and family. Happy haunting and happy baking!
Disclaimer:
This recipe is intended for informational purposes only. Please check for any allergies or dietary restrictions before preparing the dish. The creator of this recipe is not responsible for any adverse reactions or consequences resulting from its use. Always exercise caution when handling kitchen tools and ingredients. Enjoy cooking!