Wicked Red Velvet Cupcakes Recipe
Get ready to impress your guests this Halloween with these fun and spooky Wicked Red Velvet Cupcakes! Not only are they deliciously moist and flavorful, but their striking red color and festive decorations make them the perfect festive treat for your Halloween celebrations.
Ingredients
For the Cupcakes:
- 1 ½ cups all-purpose flour
- 1 cup granulated sugar
- 1 teaspoon baking soda
- 1 teaspoon cocoa powder
- ½ teaspoon salt
- 1 cup vegetable oil
- 1 cup buttermilk, room temperature
- 2 large eggs, also at room temperature
- 2 tablespoons red food coloring
- 1 teaspoon vanilla extract
- 1 teaspoon white vinegar
For the Cream Cheese Frosting:
- 8 oz cream cheese, softened to room temperature
- ½ cup unsalted butter, softened
- 4 cups powdered sugar
- 1 teaspoon vanilla extract
- A pinch of salt
For Decoration:
- Edible spooky decorations such as candy eyes, spider sprinkles, or Halloween-themed toppers.
Instructions
Step 1: Preheat the Oven
Begin by preheating your oven to 350°F (175°C). While the oven heats, line a cupcake pan with festive liners to set the mood for these spooky treats.
Step 2: Mix Dry Ingredients
In a medium-sized bowl, whisk together the all-purpose flour, granulated sugar, baking soda, cocoa powder, and salt. Mixing these dry ingredients separately helps ensure even distribution of the leavening agents and cocoa, promoting a uniform cupcake texture.
Step 3: Combine Wet Ingredients
In a large mixing bowl, measure and mix the vegetable oil, buttermilk, large eggs, red food coloring, vanilla extract, and white vinegar. Whisk these ingredients together until they are smooth and well combined. The oil and buttermilk will help keep the cupcakes moist, while the red food coloring gives them that signature Halloween color.
Step 4: Combine Mixtures
Gradually add the dry ingredient mixture to the wet ingredients, stirring gently until just combined. Please be careful not to overmix, since this can lead to dense cupcakes. A few lumps are perfectly fine; they will bake out during cooking.
Step 5: Fill Cupcake Liners
Using a measuring cup or an ice cream scoop, divide the prepared batter evenly among the cupcake liners. Fill each liner about two-thirds full; this allows room for the cupcakes to rise without overflowing.
Step 6: Bake
Place the pan in your preheated oven and bake for 18-20 minutes, or until a toothpick inserted into the center of a cupcake comes out clean. Once baked, let the cupcakes cool in the pan for about 5 minutes before transferring them to a wire rack to cool completely.
Step 7: Make the Frosting
While the cupcakes cool, prepare the cream cheese frosting. In a large mixing bowl, beat the softened cream cheese and unsalted butter until smooth and creamy. Gradually add in the powdered sugar, mixing until well combined and fluffy. Stir in the vanilla extract and a pinch of salt to enhance the frosting’s flavor.
Step 8: Frost the Cupcakes
Once the cupcakes have cooled completely, use a frosting spatula or a piping bag to generously frost them with the cream cheese frosting. The rich, tangy frosting perfectly complements the cupcakes’ sweetness.
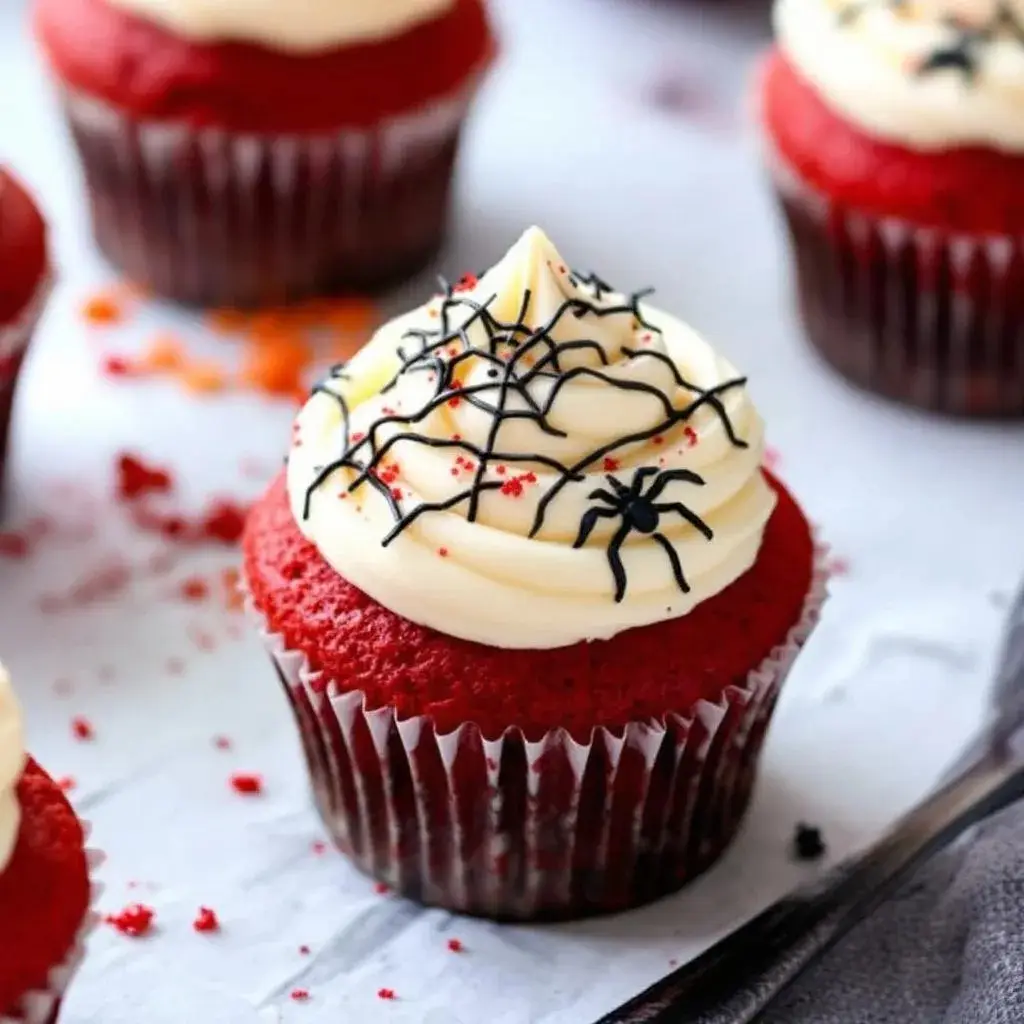
Step 9: Decorate
Get creative with your cupcake decorations! Add your spooky edible decorations — like candy eyes, spider sprinkles, or themed toppers — to give each cupcake a unique Halloween flair. This fun step will delight children and adults alike, making your cupcakes the talk of the party!
Step 10: Serve
Your Wicked Red Velvet Cupcakes are now ready to enjoy! Serve them at your Halloween party or as festive treats for family and friends. The rich flavors, striking color, and playful decorations make these cupcakes not only delicious but also visually appealing.
These cupcakes are sure to be a hit at your Halloween festivities, showcasing a delightful combination of flavors and spooky charm that everyone will love! Enjoy celebrating with your Wicked Red Velvet Cupcakes!
Disclaimer:
This recipe is intended for informational purposes only. Please check for any allergies or dietary restrictions before preparing the dish. The creator of this recipe is not responsible for any adverse reactions or consequences resulting from its use. Always exercise caution when handling kitchen tools and ingredients. Enjoy cooking!