Here’s a fun, straightforward recipe for making homemade Christmas hard candy —a festive treat perfect for the holiday season! This candy recipe is not only enjoyable to make but also allows for creativity, as you can customize flavors and colors to suit your taste. It’s an excellent activity for kids and adults alike, making it ideal for family gatherings or holiday celebrations.
Ingredients
To get started, gather the following ingredients and supplies:
- 2 cups sugar: This is the primary ingredient that provides sweetness and forms the candy base.
- 1 cup water: This helps dissolve the sugar and creates a syrup.
- 3/4 cup light corn syrup: Adding corn syrup prevents crystallization, ensuring a smooth candy texture.
- Food coloring: You can choose various colors depending on the flavors you want to incorporate.
- Oil flavoring: Select one for each color:
- Red: Cinnamon for a spicy kick.
- Blue: Anise for a unique, aromatic flavor.
- Yellow: Lemon or banana for a fruity twist.
- Green: Peppermint for a refreshing taste.
- Orange: Orange for a zesty flavor.
- Powdered sugar: This will be used for rolling the candy pieces to prevent them from sticking.
Instructions
-
Prepare Your Equipment: Start by buttering a large platter or baking sheet. This will be where you pour your hot candy mixture, so a generous layer of butter ensures easy removal later. Setting this up ahead of time will make the process smoother.
-
Cook the Mixture: In a medium saucepan, combine the 2 cups of sugar, 1 cup of water, and 3/4 cup of light corn syrup. Place the saucepan over medium heat and stir until the sugar dissolves completely. Once the sugar is dissolved, stop stirring. You want the mixture to reach 300°F, which is the hard-crack stage; once cooled, the candy will be hard and break easily. If you don’t have a candy thermometer, you can test the mixture by dropping a small amount of it into cold water—it should form hard threads.
-
Add Color and Flavor: Once your candy mixture reaches the desired temperature, carefully remove the pan from the heat. This mixture will be extremely hot, so take precautions. Quickly stir in your chosen food coloring and oil flavoring. The colors will blend beautifully into the syrup, creating a festive look. Make sure to mix well so that the flavors and colors are evenly distributed.
-
Pour and Cool: Carefully pour the hot candy mixture onto your buttered platter. Spread it out gently with a spatula if needed, but be cautious—this candy goes from hot to cooling quickly. Allow it to sit for about 5 minutes. It’s essential to watch the time; if you let it cool too long, it will harden and become difficult to cut or shape.
-
Cut the Candy: While the candy is still warm but not too hot to handle, use a pair of scissors to cut it into your desired shapes and sizes. Be swift with this step, as the candy will harden quickly. If you let it cool entirely, it will become too hard to cut well.
-
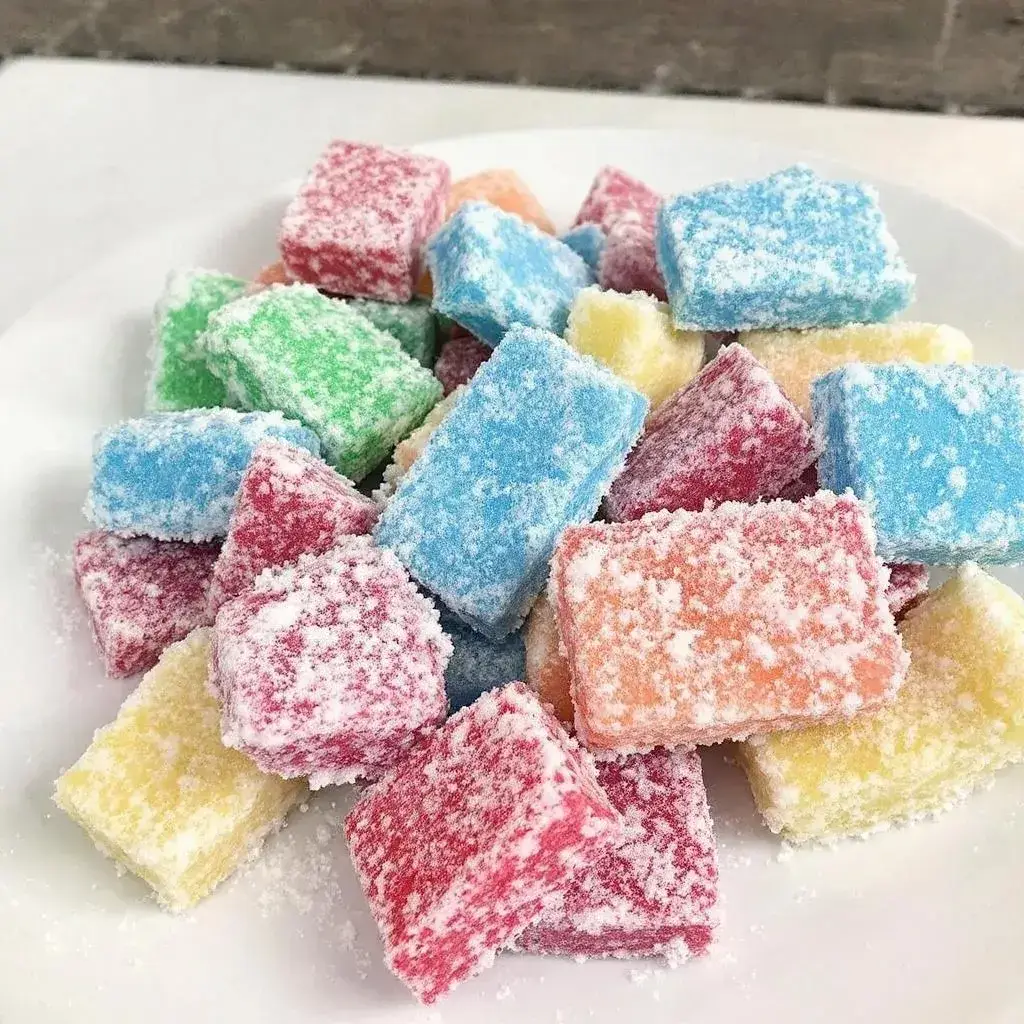
Roll in Powdered Sugar: Once you’ve cut the candy pieces, roll each piece in powdered sugar. This step helps prevent the pieces from sticking together and adds a nice finishing touch. The powdered sugar gives the candy a professional look while keeping it easy to handle.
-
Store: Allow the candy to cool completely at room temperature before storing it. Once cooled, place the pieces in an airtight container to keep them fresh. Homemade hard candy can last for weeks if stored properly, making it ideal for holiday gifting.
Enjoy
This homemade Christmas hard candy recipe is a delightful way to spend time with loved ones during the holiday season. The process of cooking, cutting, and flavoring the candy is a fun activity enjoyed by children and adults alike. Plus, you have the freedom to experiment with different flavors and colors, making each batch unique. These treats are perfect for sharing at holiday parties, gifting to friends and family, or simply enjoying during cozy nights at home. Enjoy your sweet creation and spread the joy this holiday season!
Disclaimer:
This recipe is intended for informational purposes only. Please check for any allergies or dietary restrictions before preparing the dish. The creator of this recipe is not responsible for any adverse reactions or consequences resulting from its use. Always exercise caution when handling kitchen tools and ingredients. Enjoy cooking!